


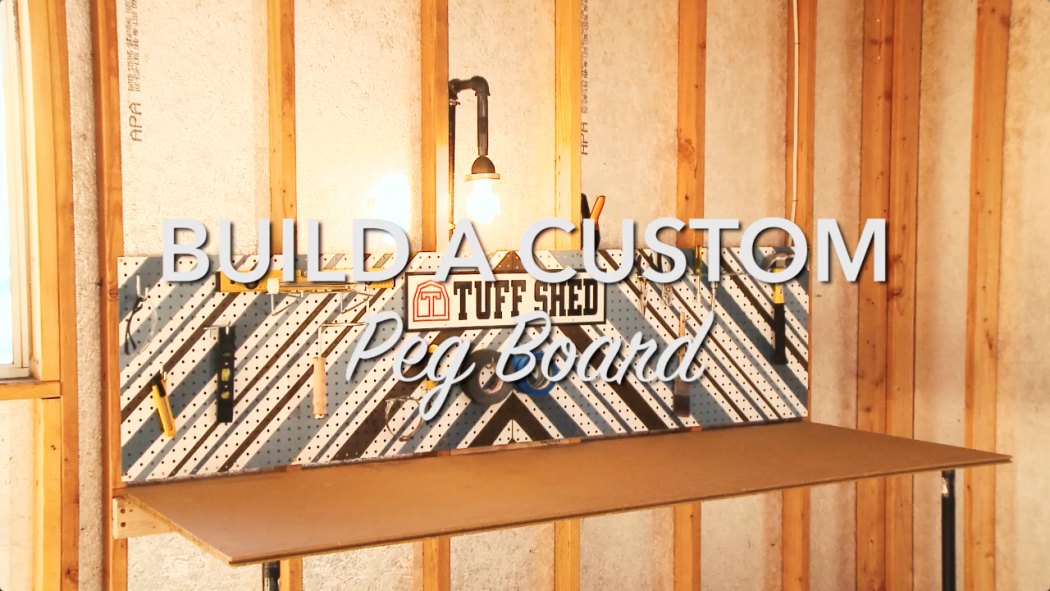
You’ve spent so much time installing your pegboard and organizing your workspace, why not show off your hard work with a custom coat of paint? Creating an eye-catching design is easier than you think. With our simple tutorial you’ll be finished and admiring your work in no time.
Supplies Needed:
- Paint
- Painters Tape
- Paintbrush
- Stencils (optional)
The sky is the limit when it comes to a custom style for your pegboard. Choose a color palette, use a stencil, or just stick with a single solid design. No matter what you choose to do, your pegboard will be a great focal (and organizational) point in your garage or shed.
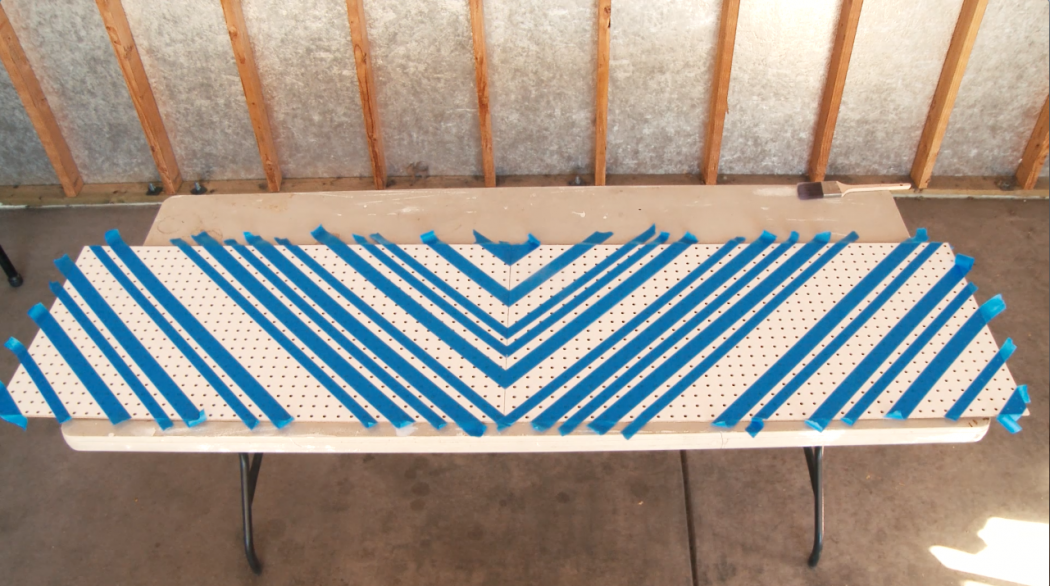
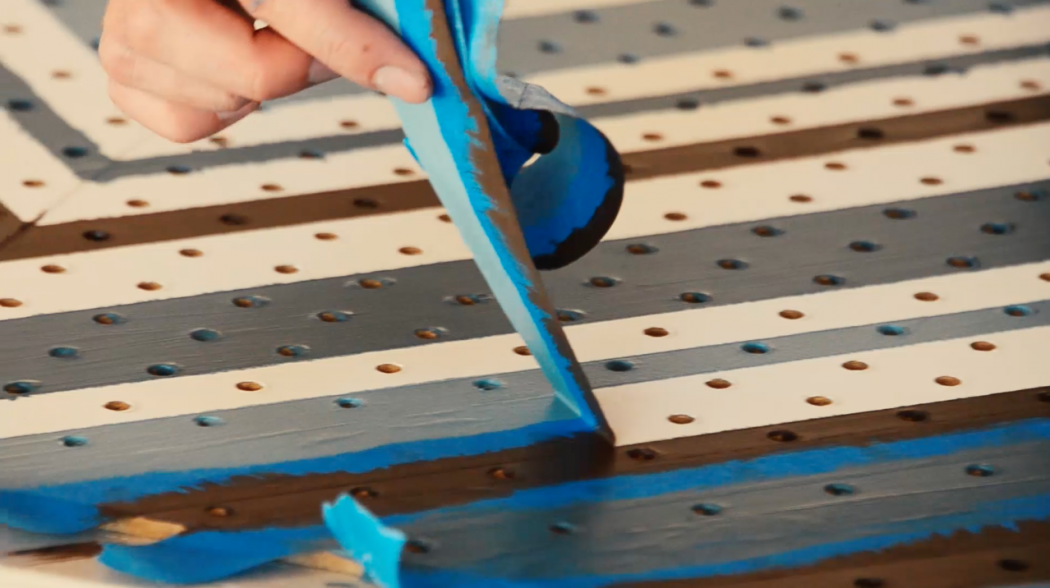
Begin your project by laying out your pegboard on a flat surface. It’s easiest to paint the pegboard when it’s not on the wall. Once you’ve got your pegboard laid out, start taping or stenciling your design. If you need a little inspiration for stenciling patterns check out this Pinterest Page filled with great ideas. For our pegboard, we chose to tape off diagonal lines at varying widths.
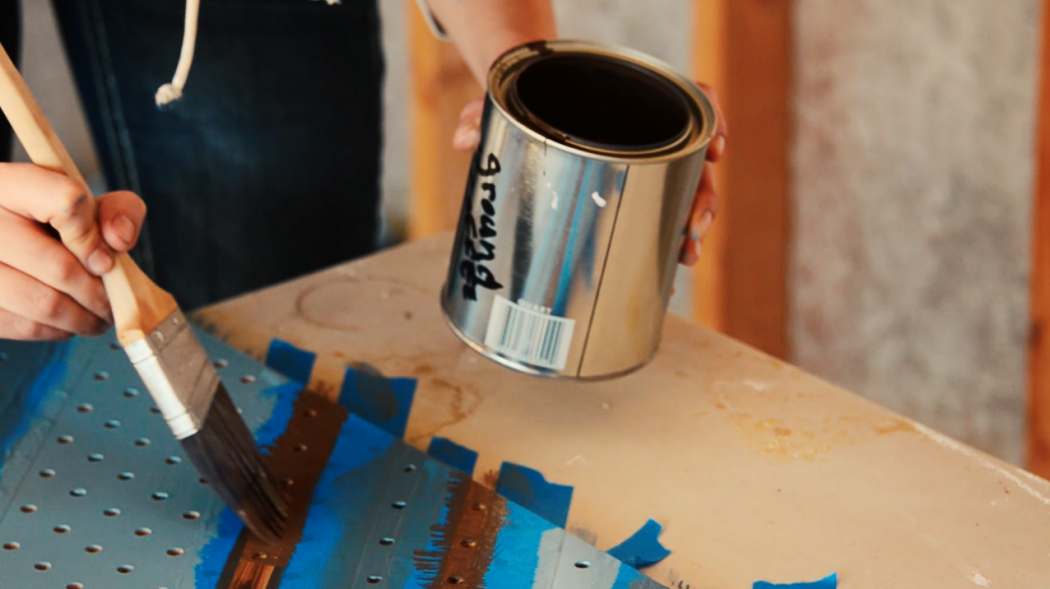
We used three different paint colors that were pulled from our new PPG/Tuff Shed colors – two shades of blue (Lake Front and Goblin) and one shade of brown (Ground Coffee).
To keep our workspace bright, we focused on the lightest shade first and used the two darker colors as accents in the design. We marked off each section in pencil with the color name to ensure we would get the right colors in the right places.
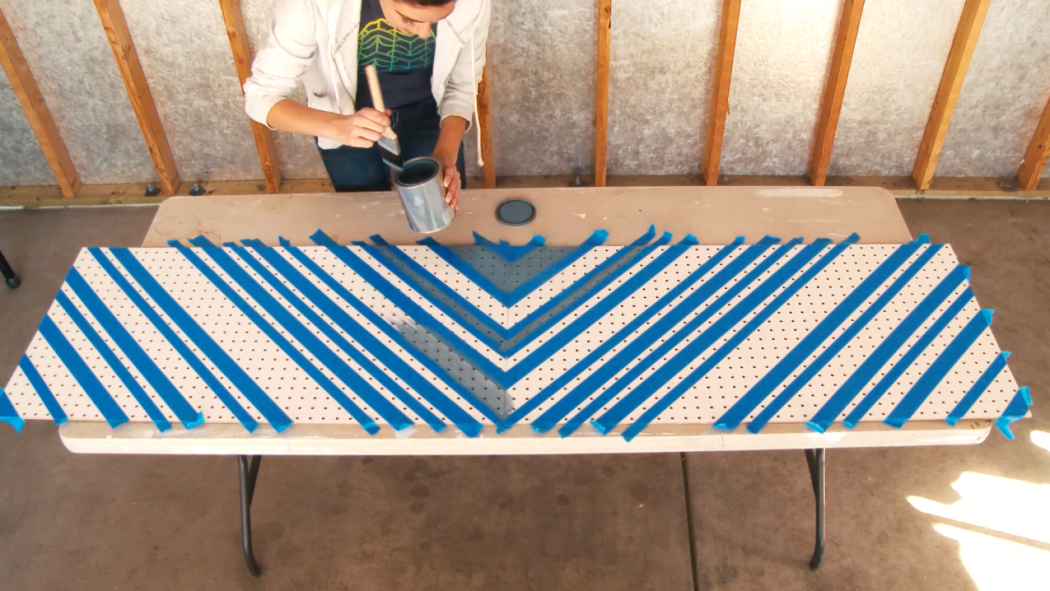
We focused on one color at a time, and painted them from lightest to darkest. After the first coat dried we touched up as needed to get a nice even cover across the pegboard.
When you’re happy with the paint coverage, and it has dried, you can begin removing the painter’s tape. We found it worked best to pull the tape off the board away from us. It allowed us to be a little speedier while still keeping our lines intact.
Once your tape is removed, your pegboard is ready to be put on the wall! It helps to have an extra pair of hands to hold up the pegboard while attaching it to the wall. When your pegboard is fully secured it’s time to start organizing! Since the organization options are endless for the pegboard take some time to decide what works best for your space. But if you aren’t happy with the arrangement, fear not! You can always reorganize and reconfigure the components to create a new look.