


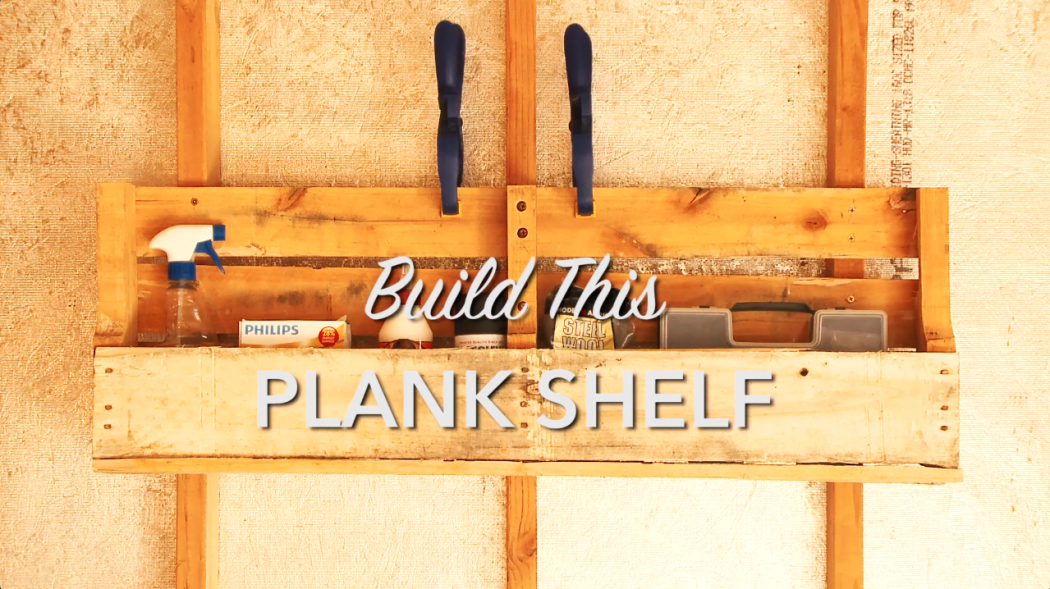
This project is a quick way to make a rustic storage option that’s heavy-duty enough for your garage or can be styled for your home. No matter what you store, this shelf will stand the test of time with style.
For this project you’ll need:
- Pallet
- Tape Measure
- Reciprocating Saw
- Circular Saw
- Drill and Screws
- Level
- Paint or Stain (0ptional)
To start, we’d like to clarify the parts of a pallet. A pallet consists of two major components, the stringers or supports and deckboards. Generally a pallet has three stringers, made from 2×4 lumber, which supply the interior support for the structure. The deckboards are typically thinner, 1×3 or 1×4 boards that are placed on either side of the stringers.
First, select a pallet with heavy boards that will withstand the use of a shelf. It should be fairly sturdy and at least one end of the pallet should have boards that are in good shape with no cracks. The sturdier your wood is, the sturdier your shelf will be.
Next, measure from the end deckboard of your pallet and determine how tall you want your shelf to be. Keep in mind, the height will be most important for the back panel of the shelf. Our shelf is 13 in. high in the back for better support.

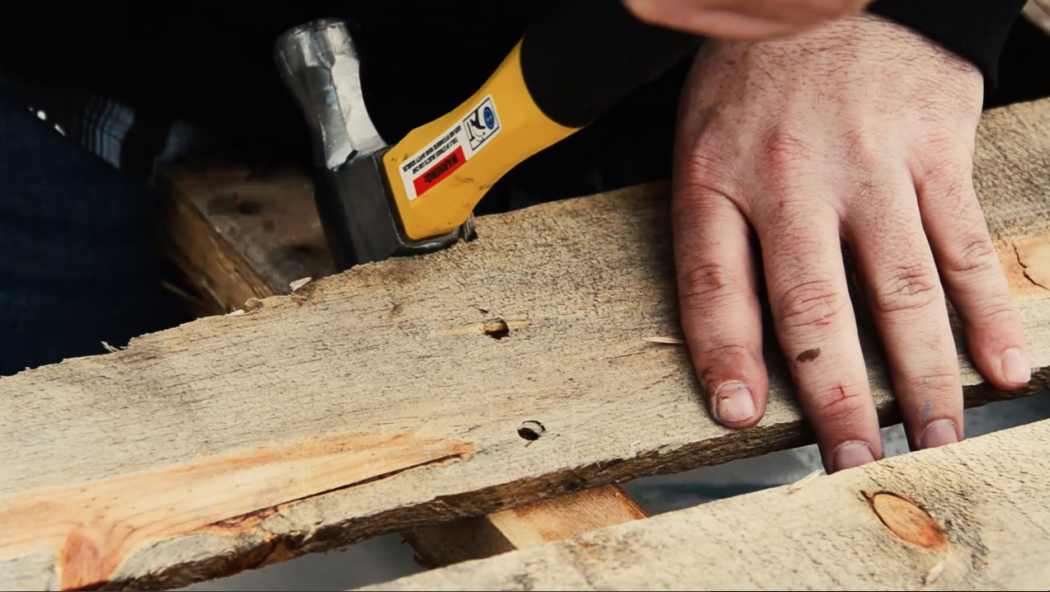
After you’ve measured the shelf height on all sides you can begin to remove the deckboards near the section you’ll be cutting off. Try to remove them carefully because you’ll need a few extra pieces to fill in some space on the shelf. You can use a crowbar or a reciprocating saw to remove the deckboards. If there are any nails left behind at this point, remove them as well.
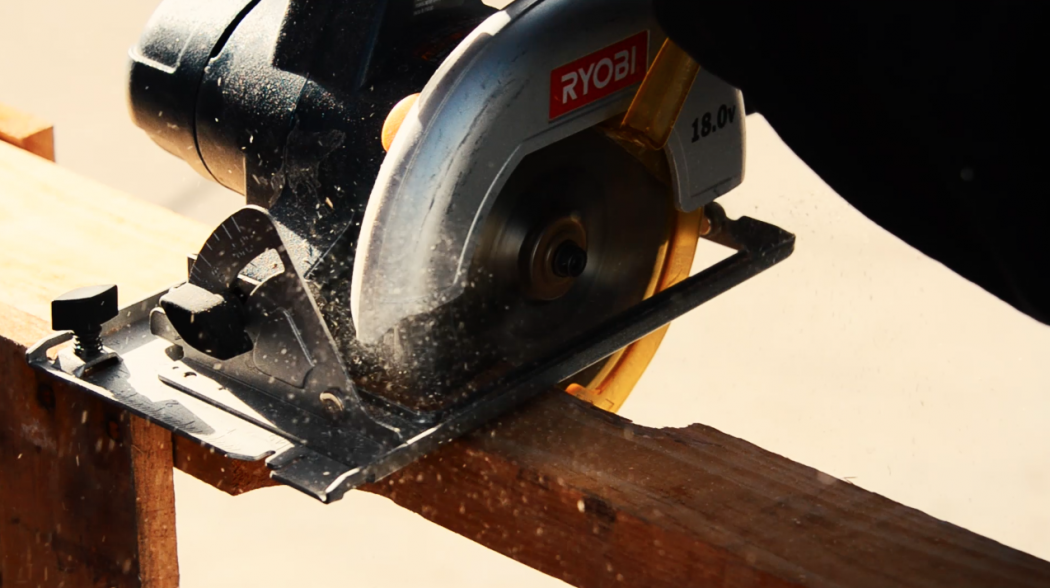
Once you have a cleared space, you can begin cutting into the stringers with a circular saw. When you’ve finished cutting, set aside the half of the pallet that you won’t be using for your shelf.
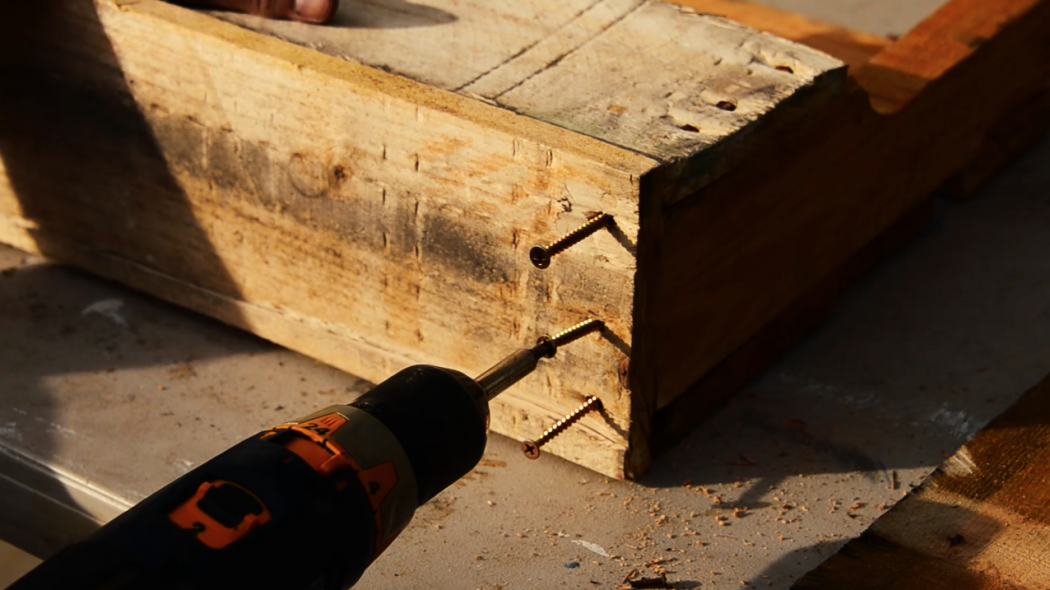
We put a few extra deckboards on the back of our shelf for better support. Pre-drilling the holes works really well for this project. Since you’re working with repurposed wood you run a great risk of cracking and breaking your wood if you fasten a screw through the wood without prep.
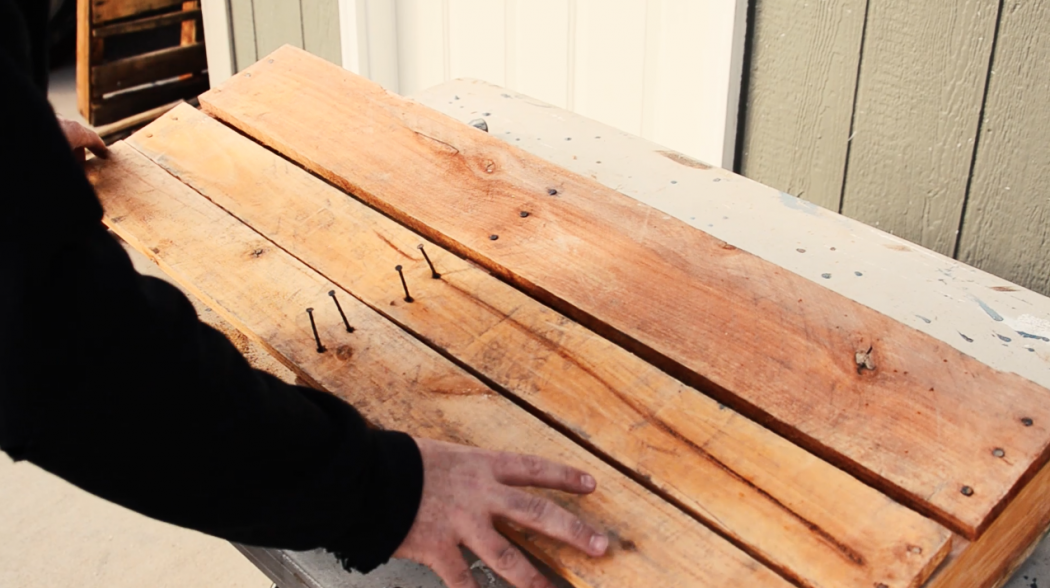
You’ll also need to attach an extra deckboard to the bottom of the shelf. If you have any loose deckboards on the shelf, now is a great time to reinforce them with a couple extra screws or nails. If you’re planning to use this shelf inside your home and want a more finished look, consider lightly sanding any rough edges and staining or painting the surfaces.
Once the shelf is assembled, carefully measure and mark the space where you are going to place your shelf. Begin by predrilling a hole. Drill through the stringer, the deckboard, and into the wall stud. It helps to have another pair of hands to hold up the shelf while you check to see if it’s level.
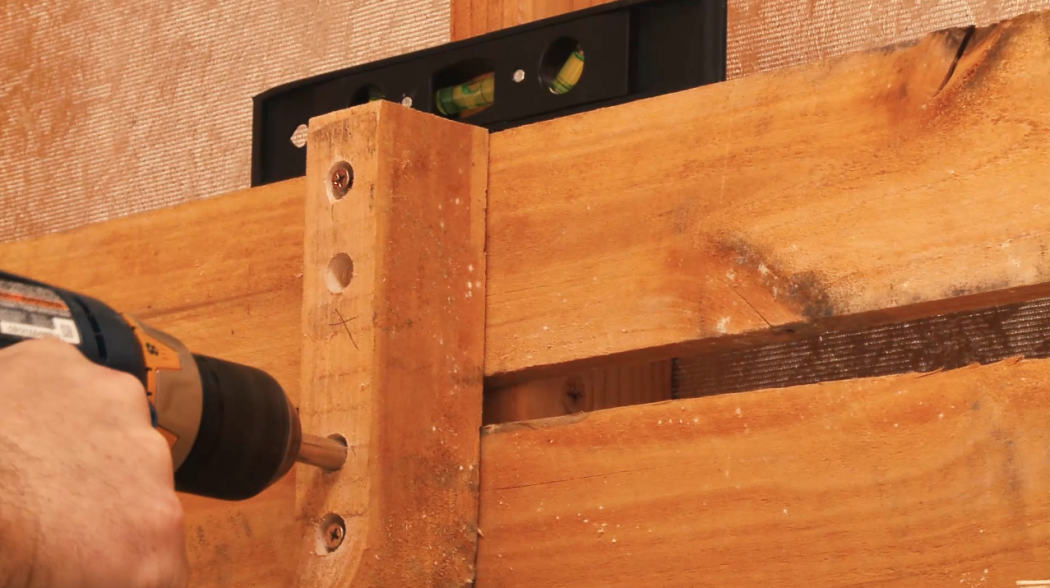
Continue attaching shelf until you are confident it is stable and secure. Then it’s time to start using the shelf. Happy organizing!
[av_video src=’https://www.youtube.com/watch?v=Ycf4nZ_Pagc&feature=youtu.be’ format=’16-9′ width=’16’ height=’9′ custom_class=”]